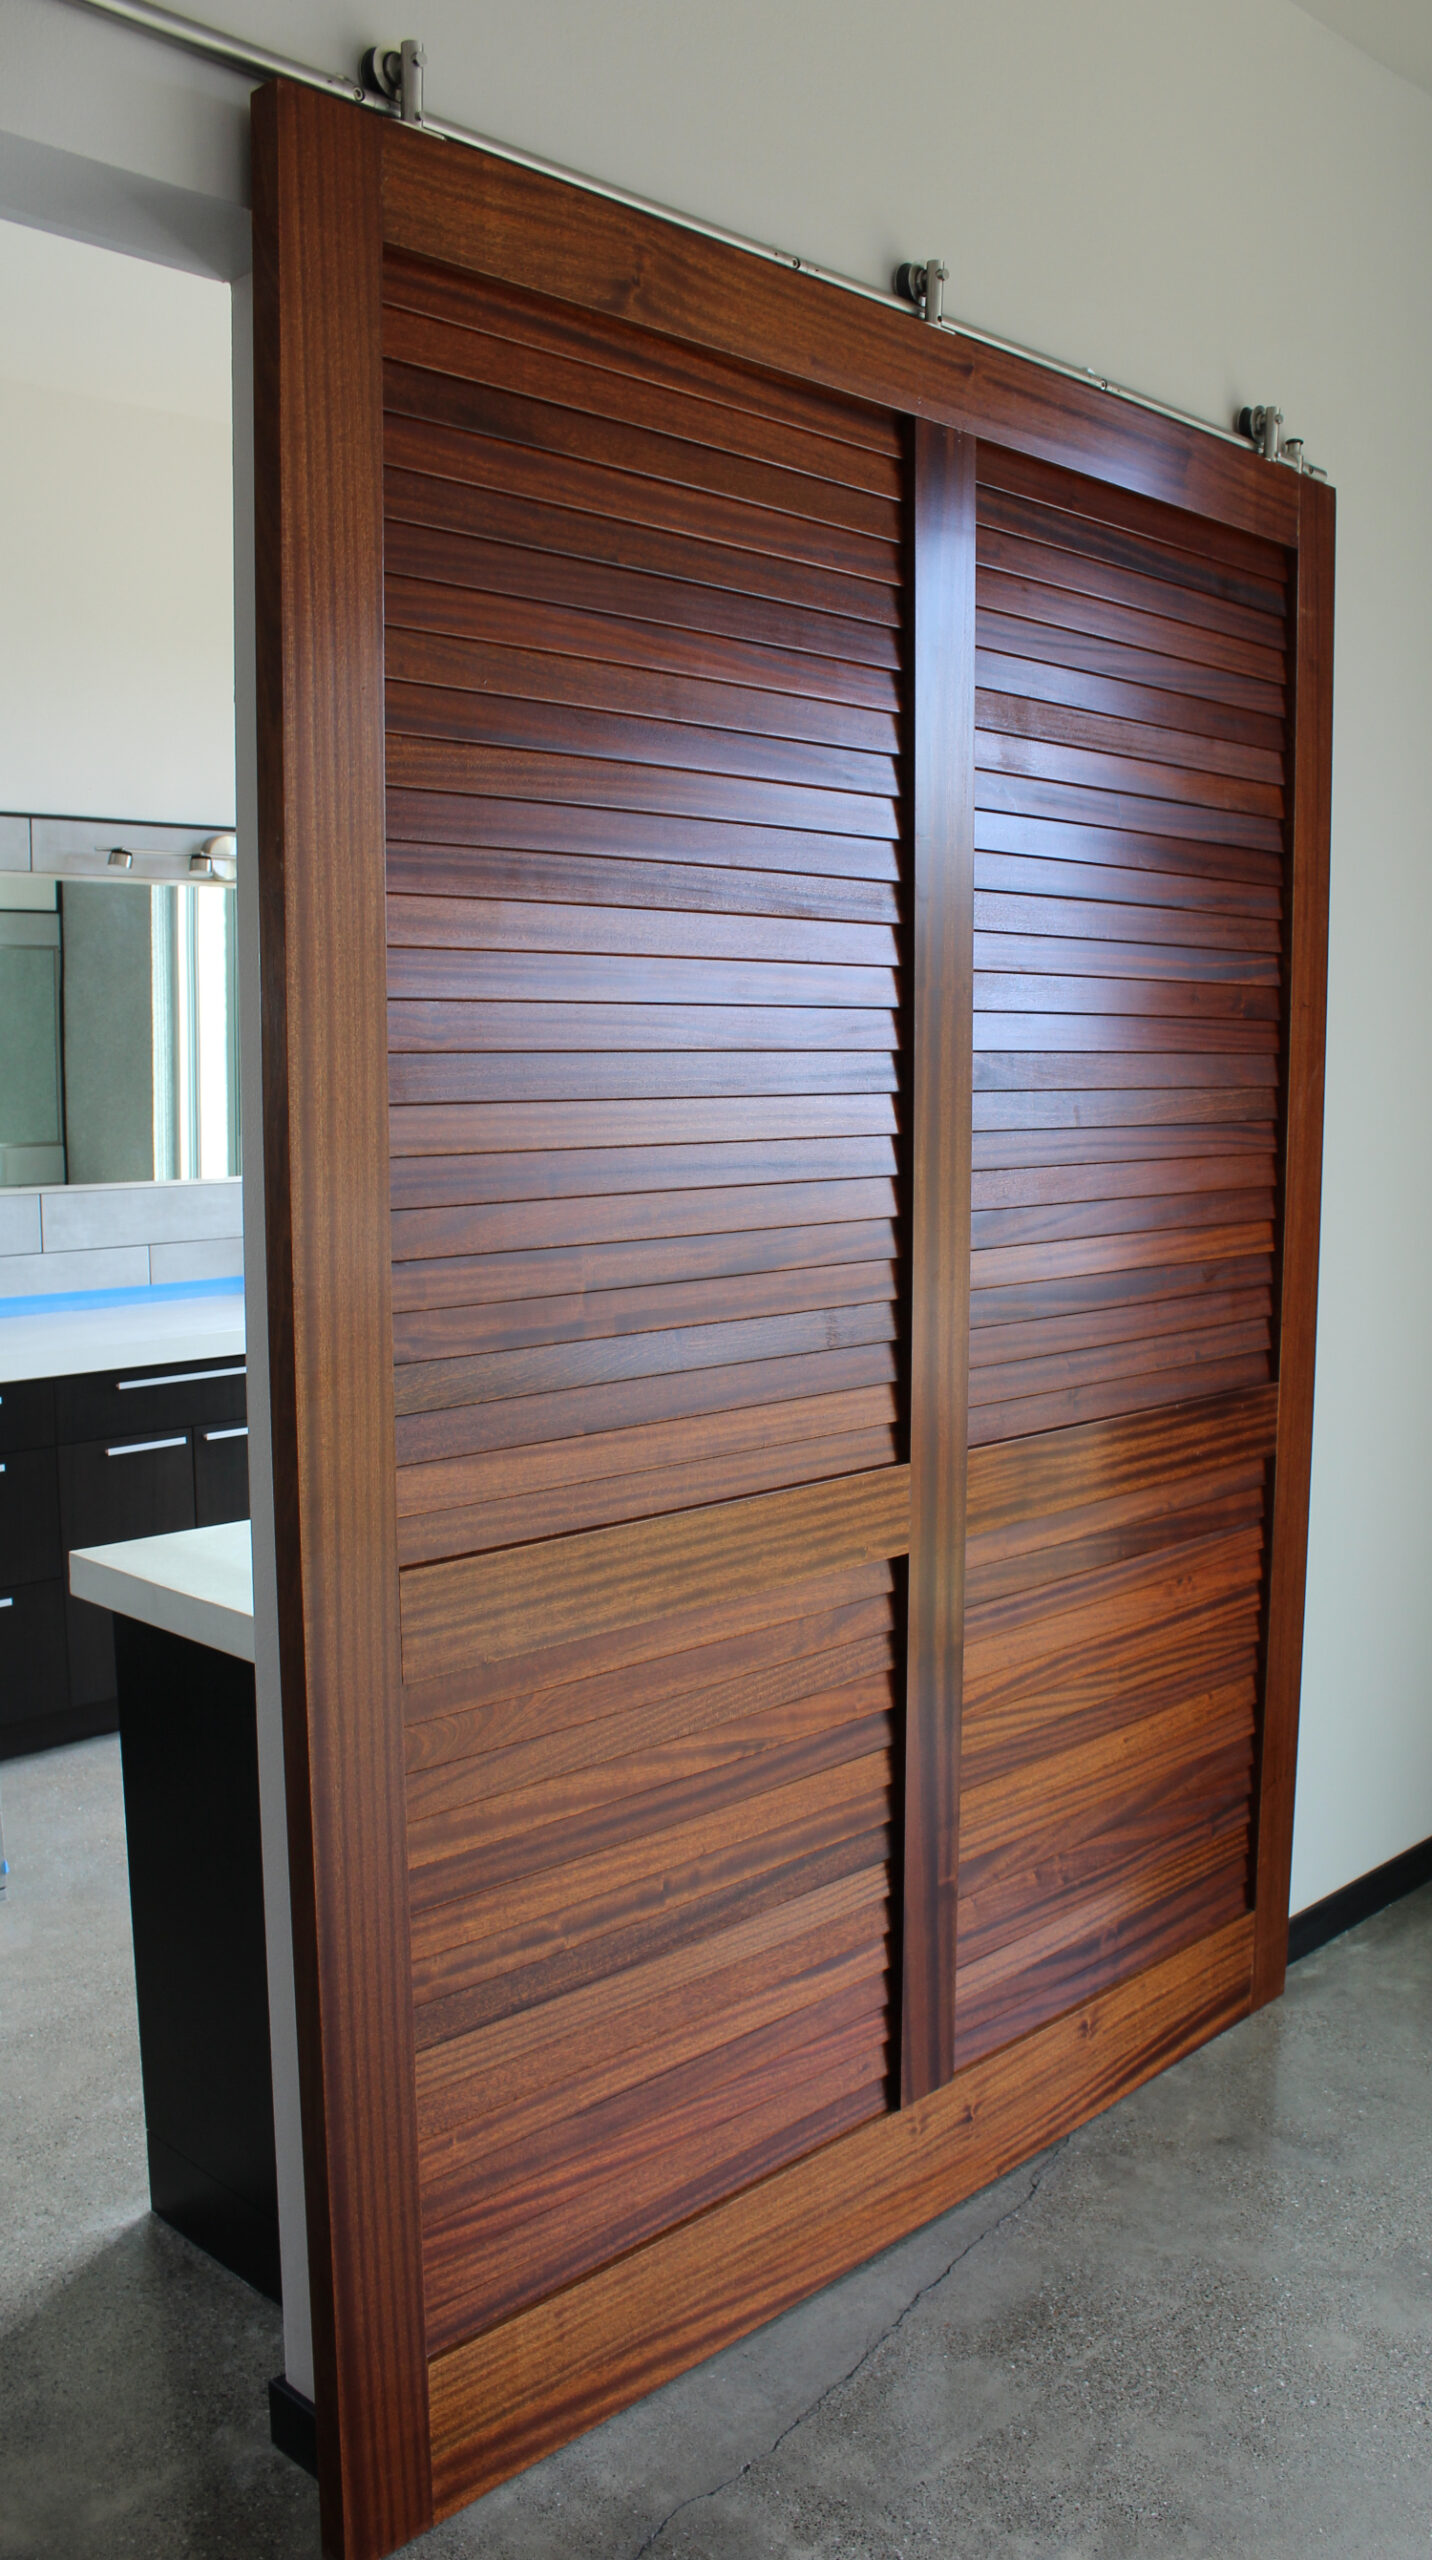
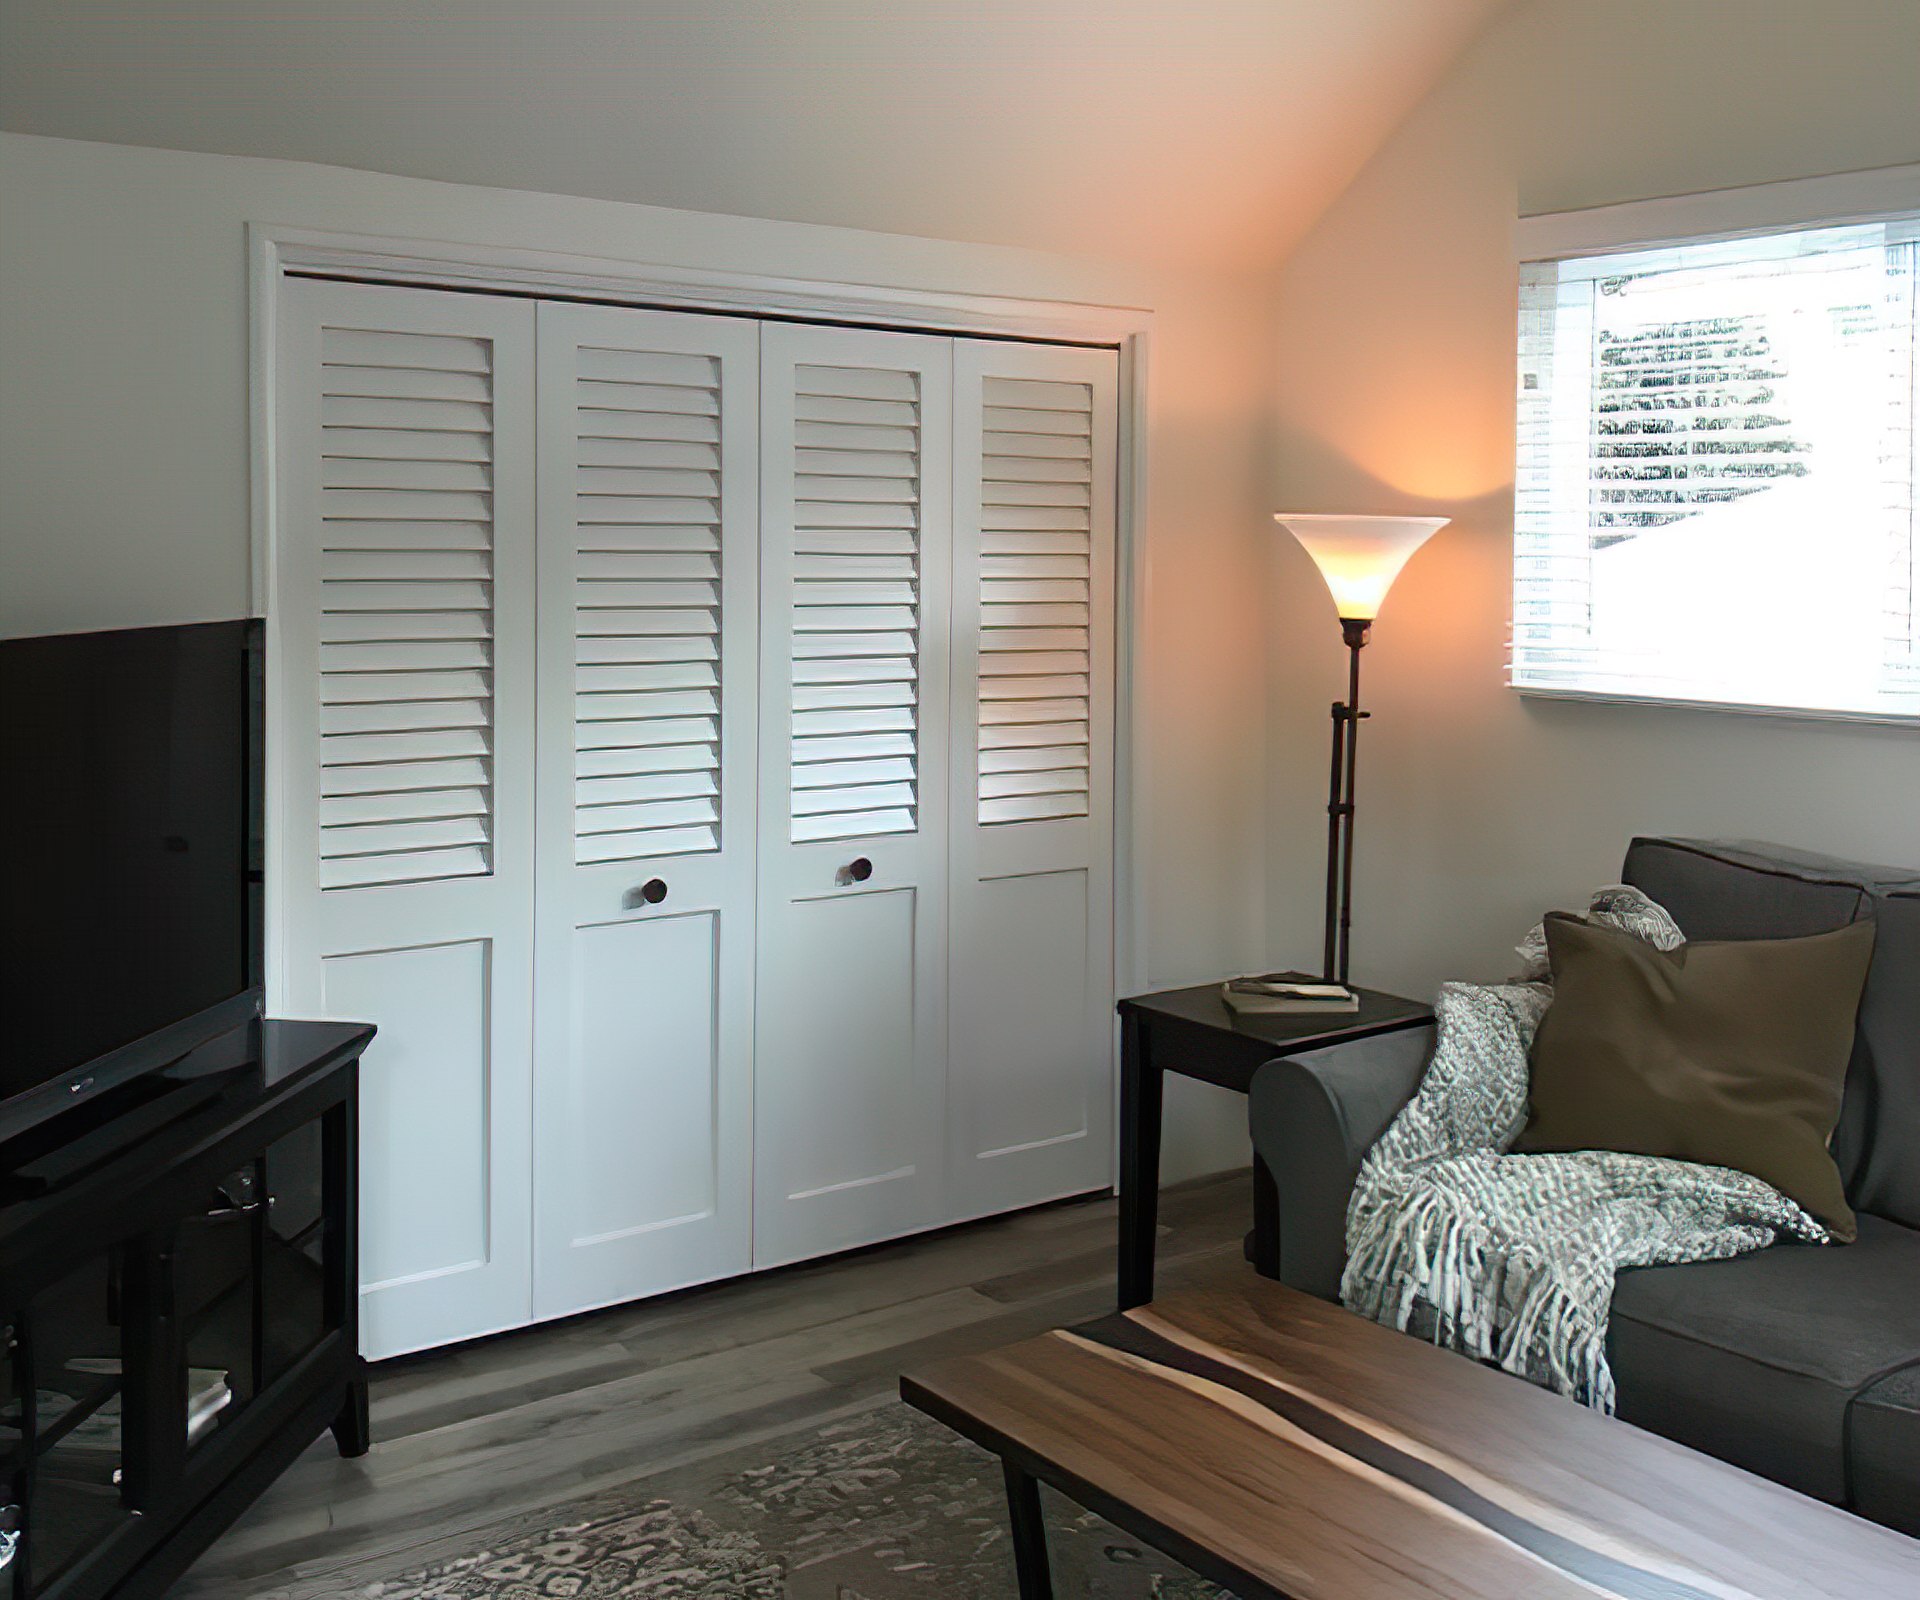
What Are Faux Louvered Doors? With fixed louvered doors the louver blades are fixed at an angle and spaced far enough apart so that there is a gap. This is so they provide privacy while still allowing airflow. With Faux lovered doors the louver blades are shaped like a chevron and stacked. This gives you …
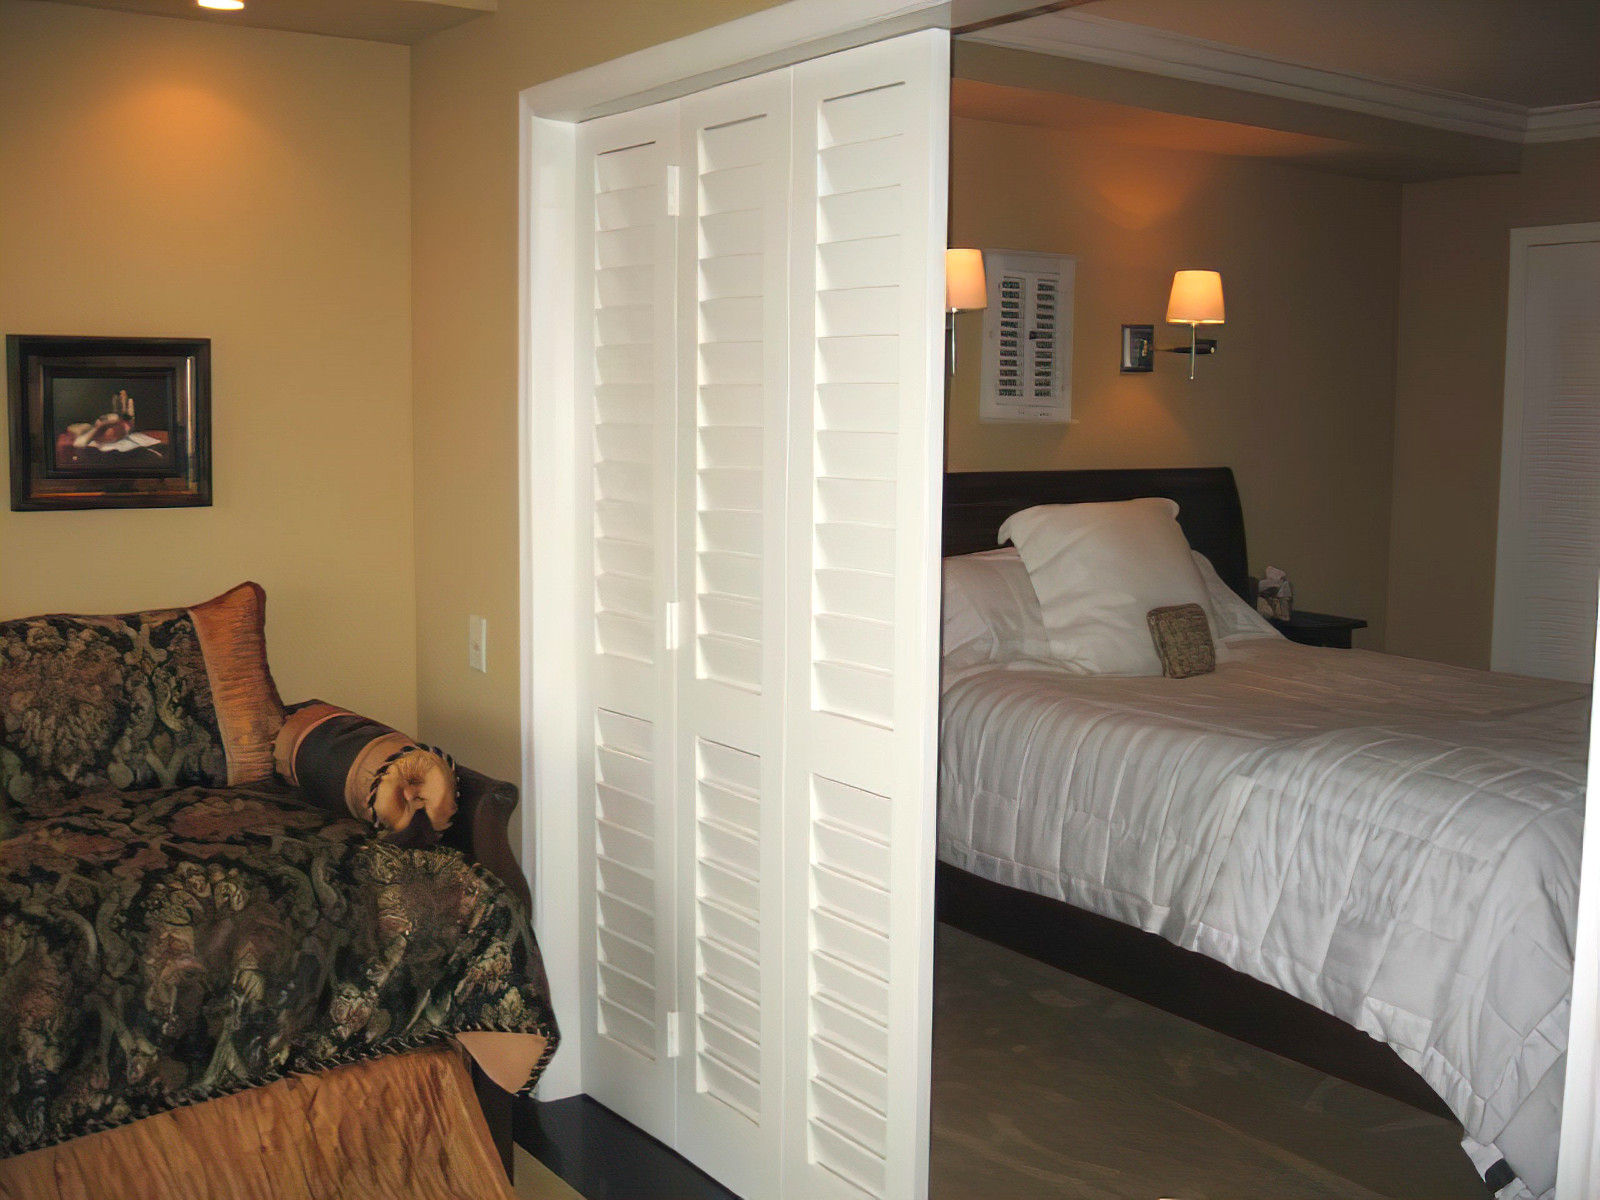
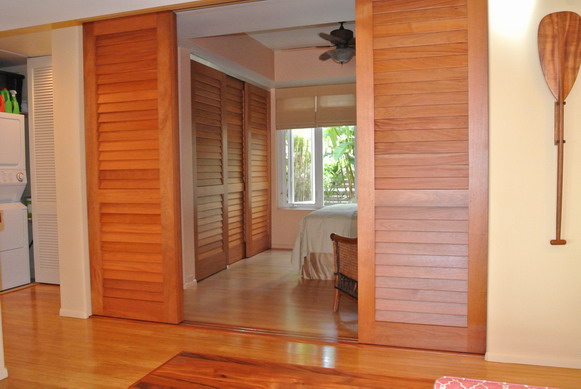
What are the differences between Interior Doors and Closet Doors?
What are the differences between Interior Doors and Closet Doors? We often receive emails and phone calls asking us which doors can be used as closet doors and which can be used for interior doors between rooms. Many people are concerned that there may be some reason why the same door should not be used …
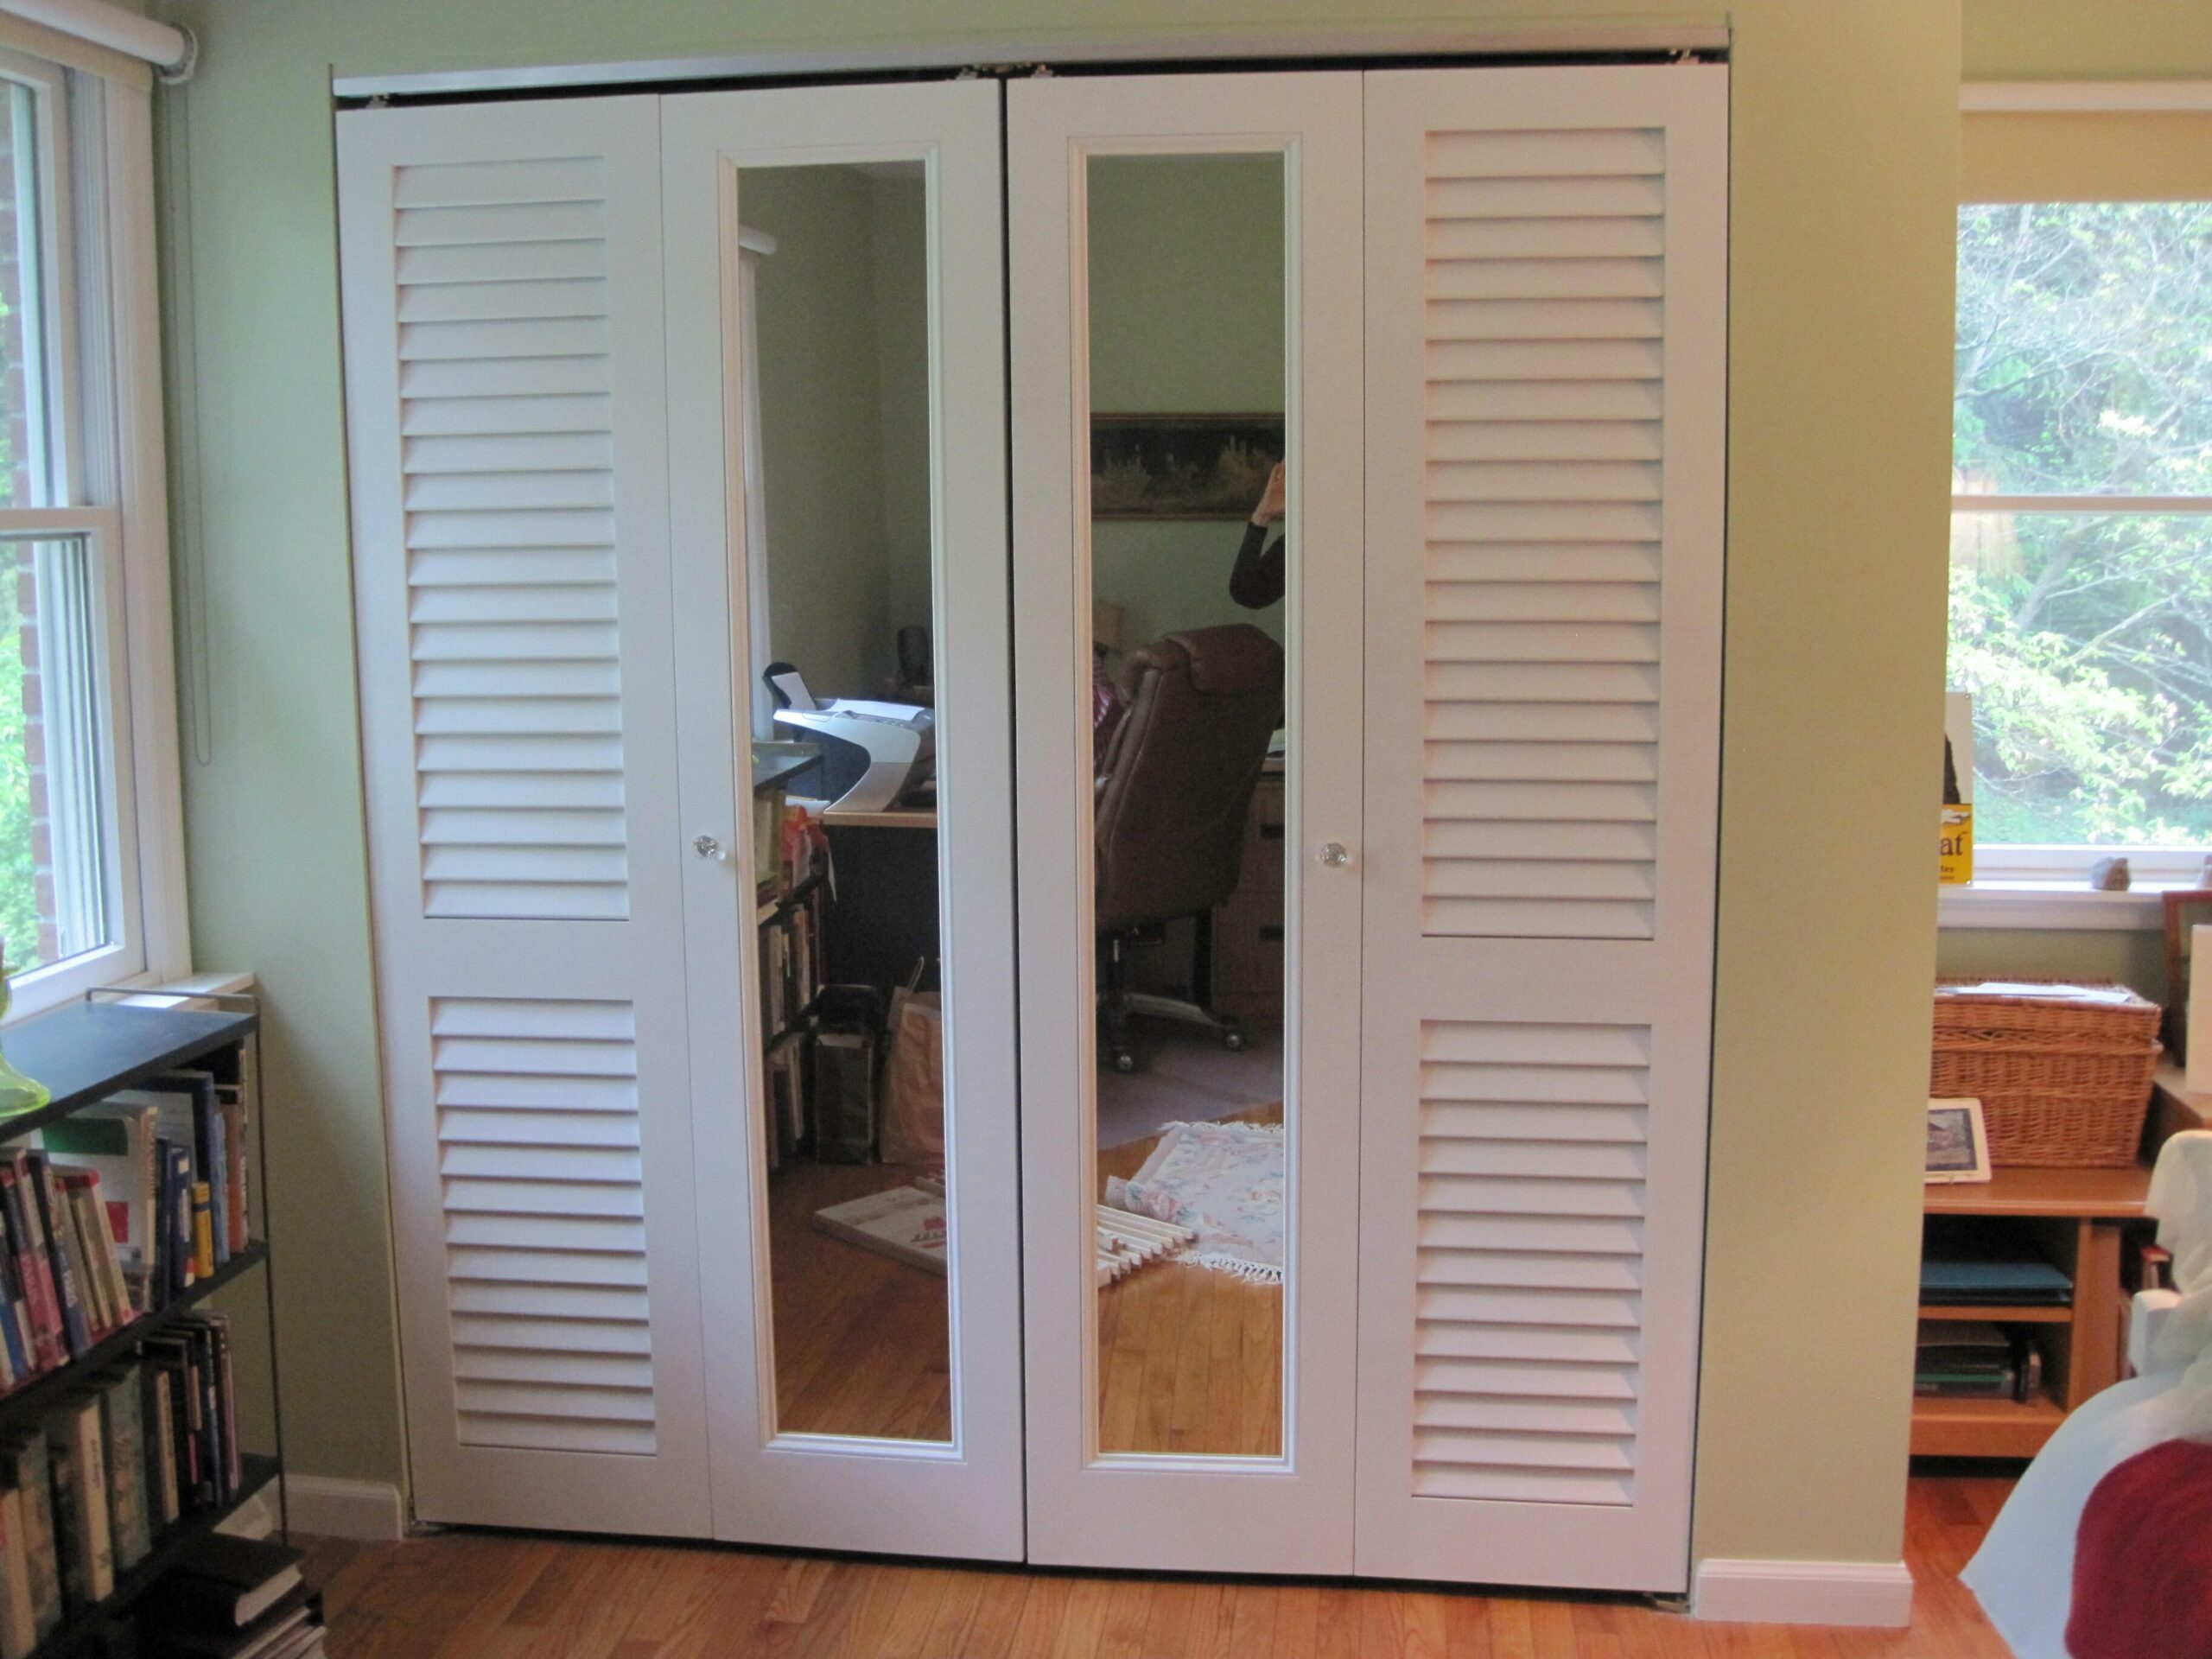
Bifold Doors or Sliding Closet Doors; Which Cost Less
Bifold Doors or Sliding Closet Doors; Which Cost Less? When buying new closet doors most people look for a way to save money without compromising on quality. One way to do this is to consider the cost differences between sliding closet doors and bifold doors. How Many Doors for Your Closet? We custom make all …

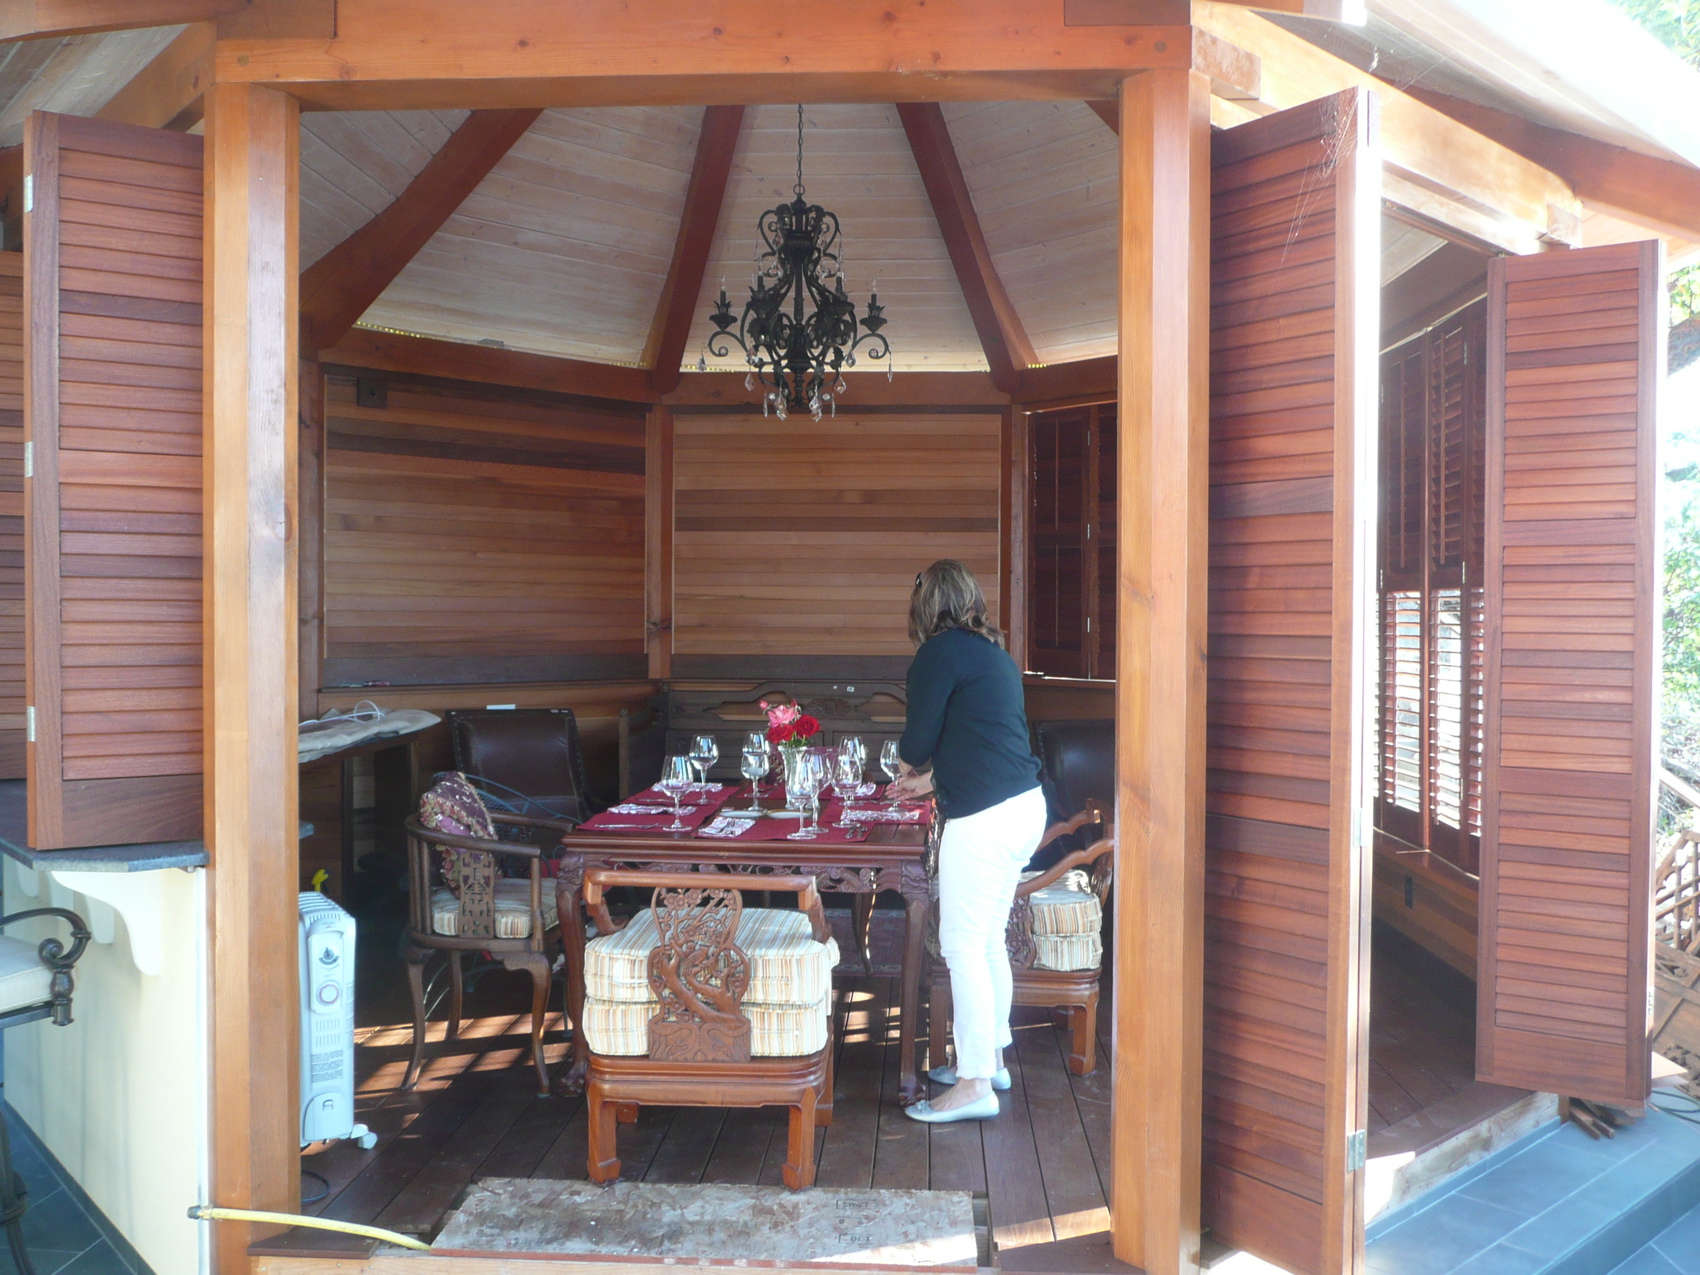
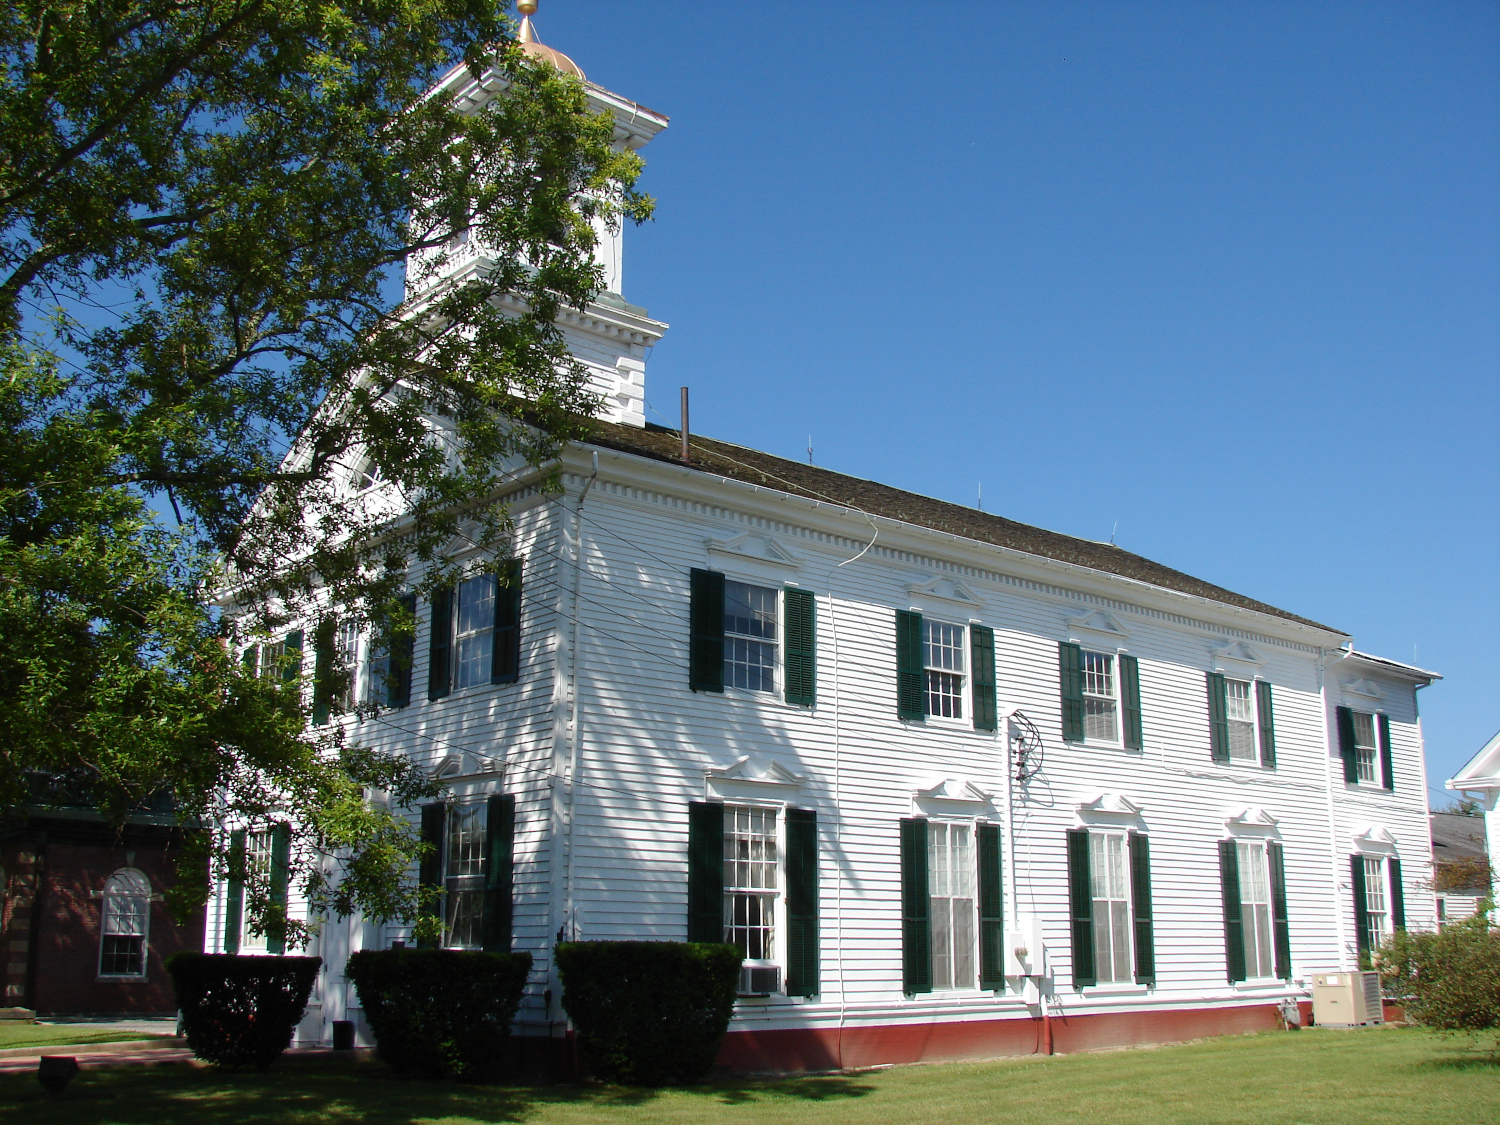
Tongue & Groove vs Beadboard for Shutters and Doors
Tongue & Groove vs Beadboard for Shutters and Doors While we are all familiar with flat and raised panel shutters and doors there are other choices when you are looking for something solid. Two popular alternatives are Beadboard and Tongue & Groove. Tongue & Groove The name Tongue & Groove actually refers to the way …
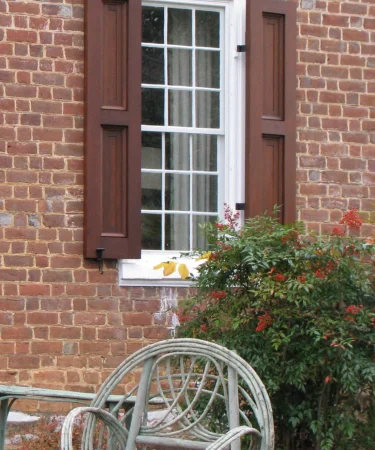
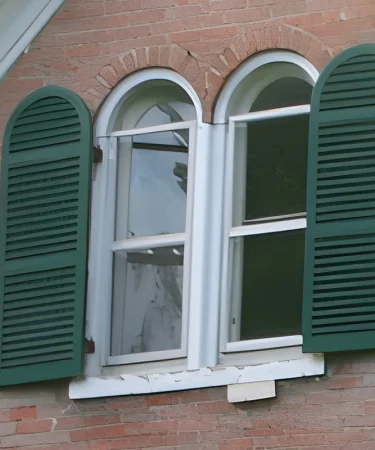
Using Wood Shutters and Doors in a Bathroom
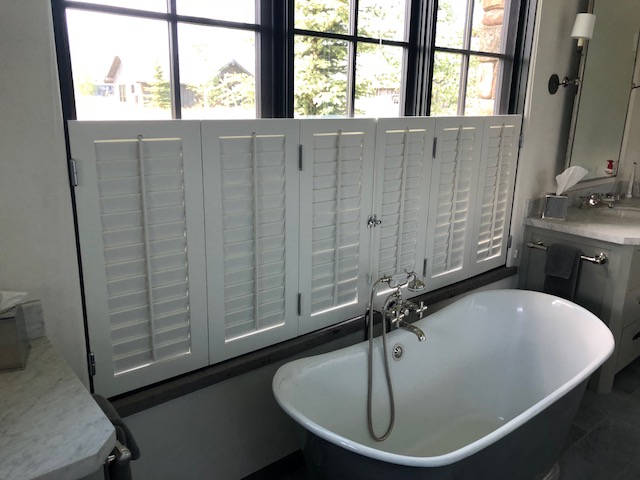
Using Wood Shutters and Doors in a Bathroom When it comes to using wood shutters and doors in a bathroom there are a few things that you need to consider; privacy, ventilation and humidity. Privacy Privacy in a bathroom is obviously important to many people. Most styles of doors or shutters will offer some degree …
Choosing Utility Closet Doors
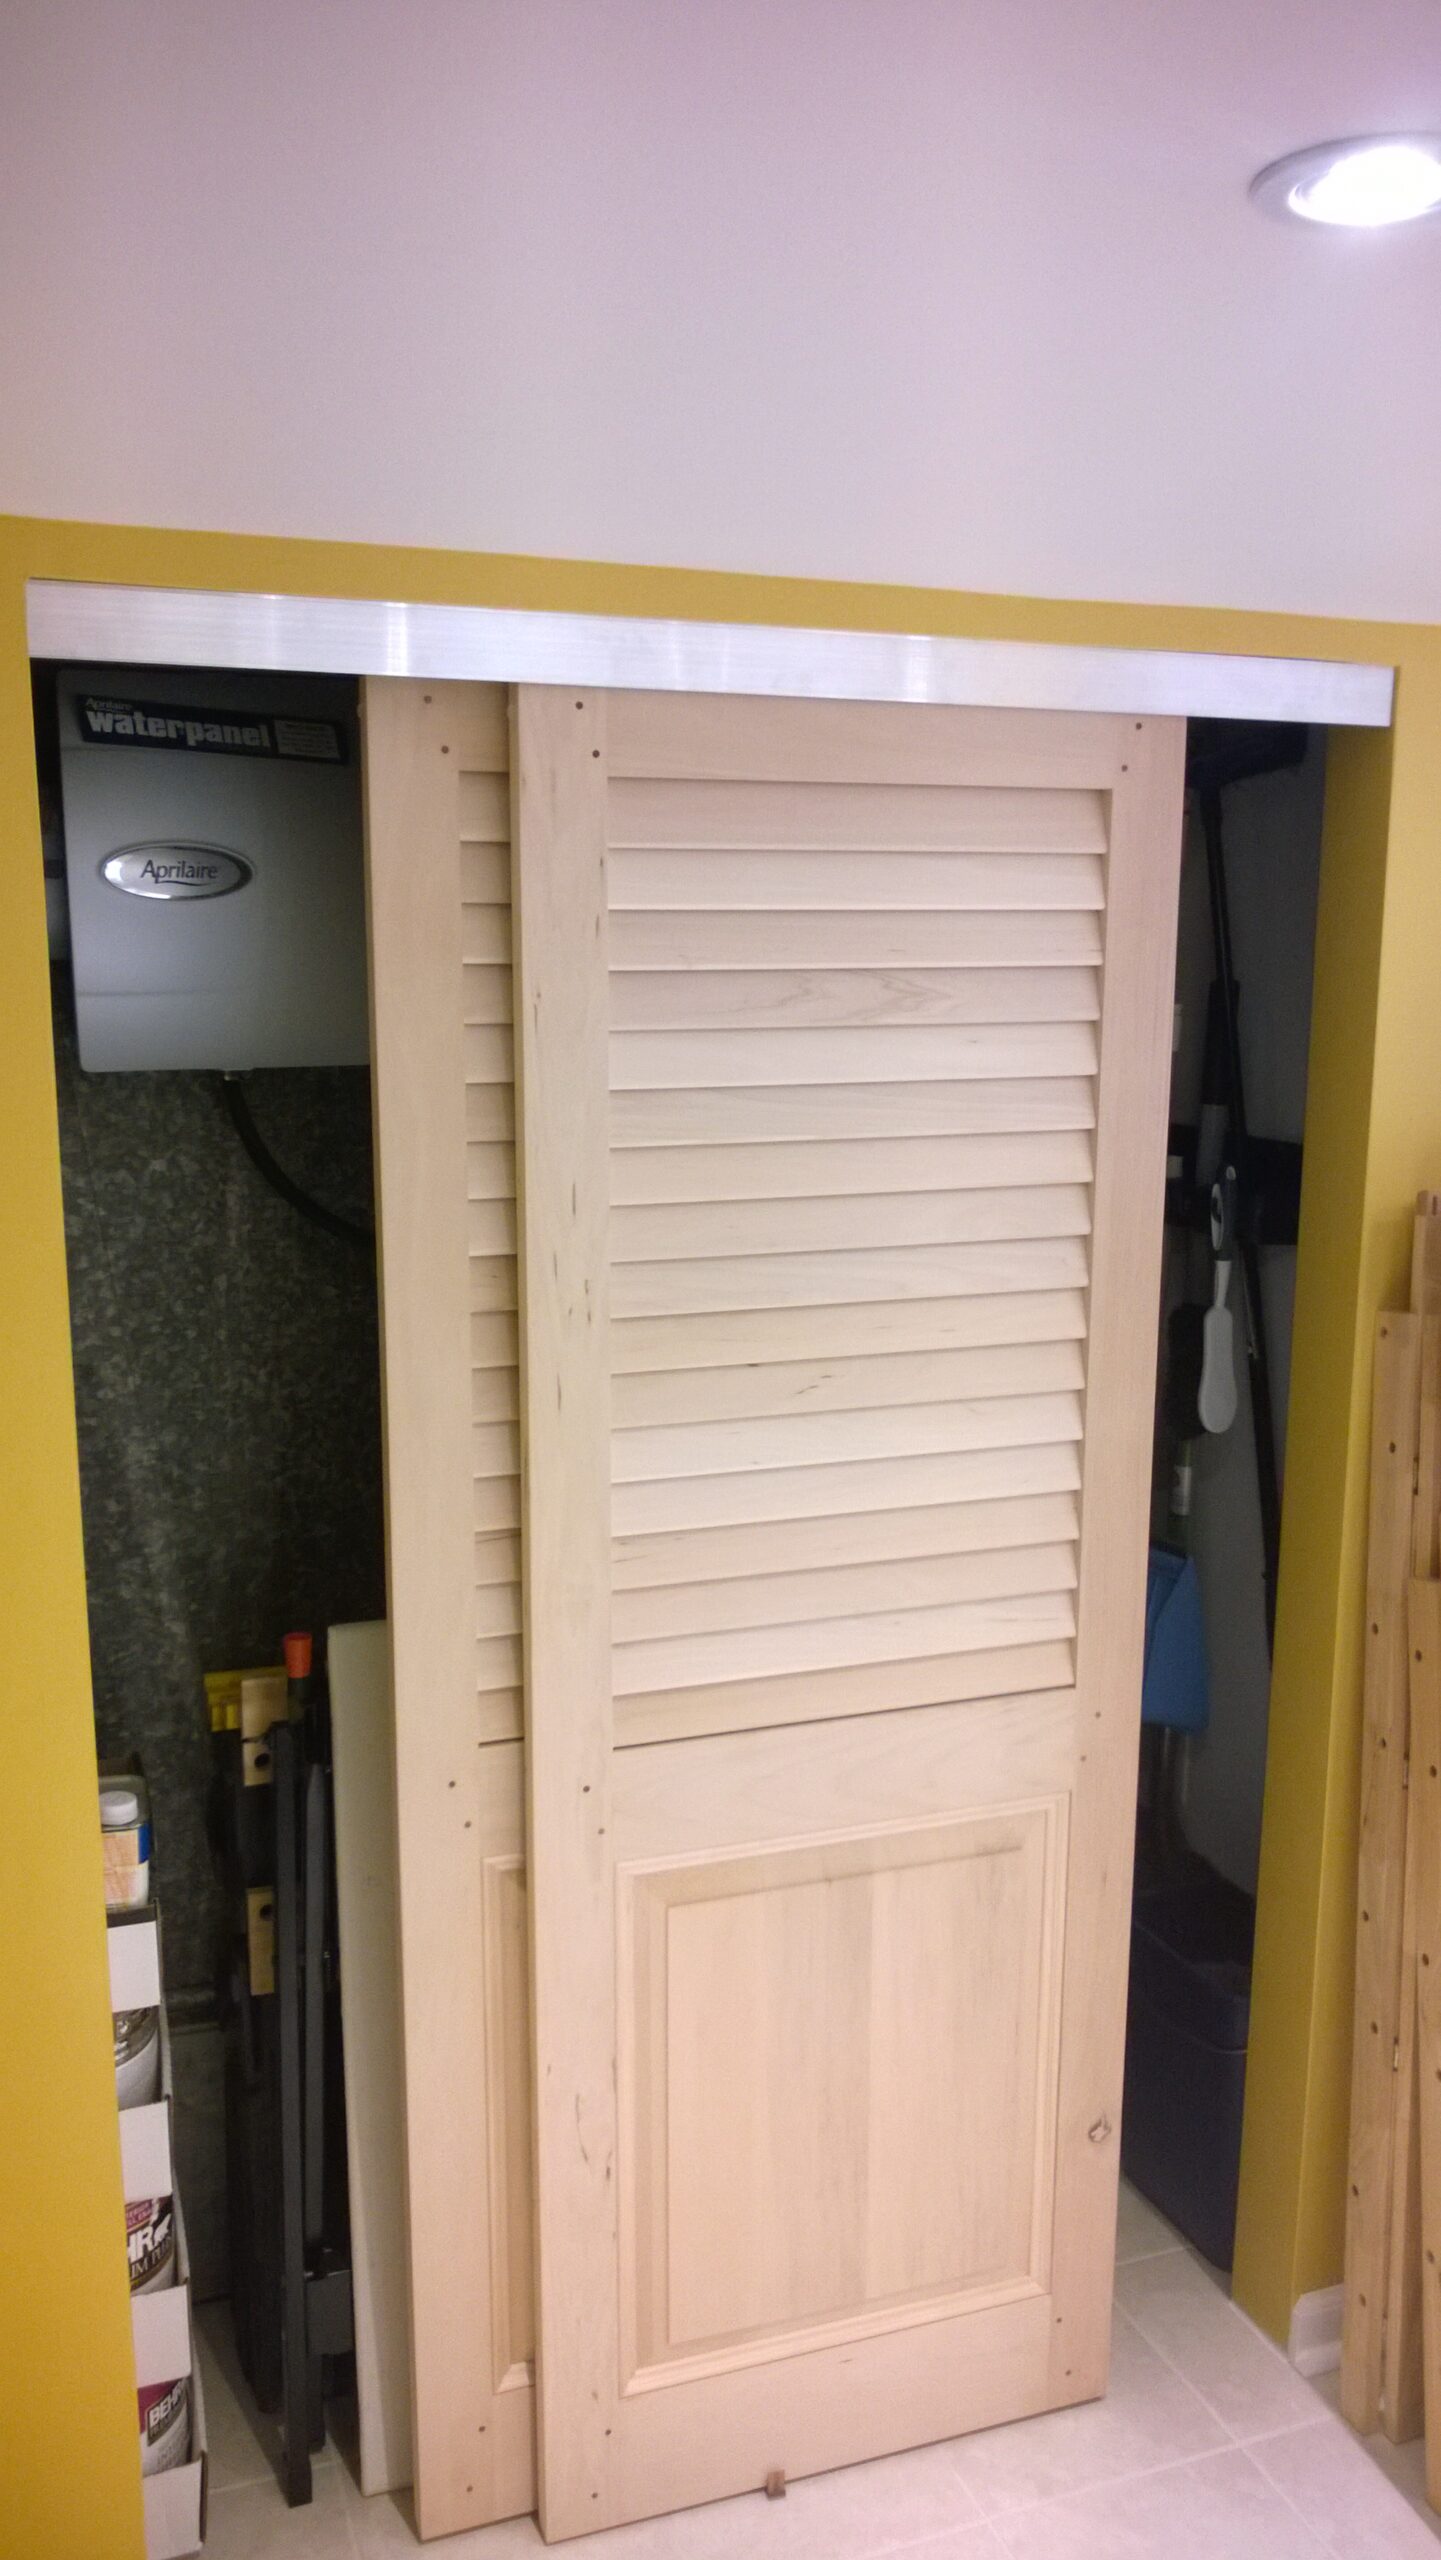
Choosing Utility Closet Doors When you are looking to buy new doors for a utility closet you need to consider both the requirements that any equipment in the closet might have as well as any other features you would like to see in the doors. Typically this means choosing styles of closet doors that allows …