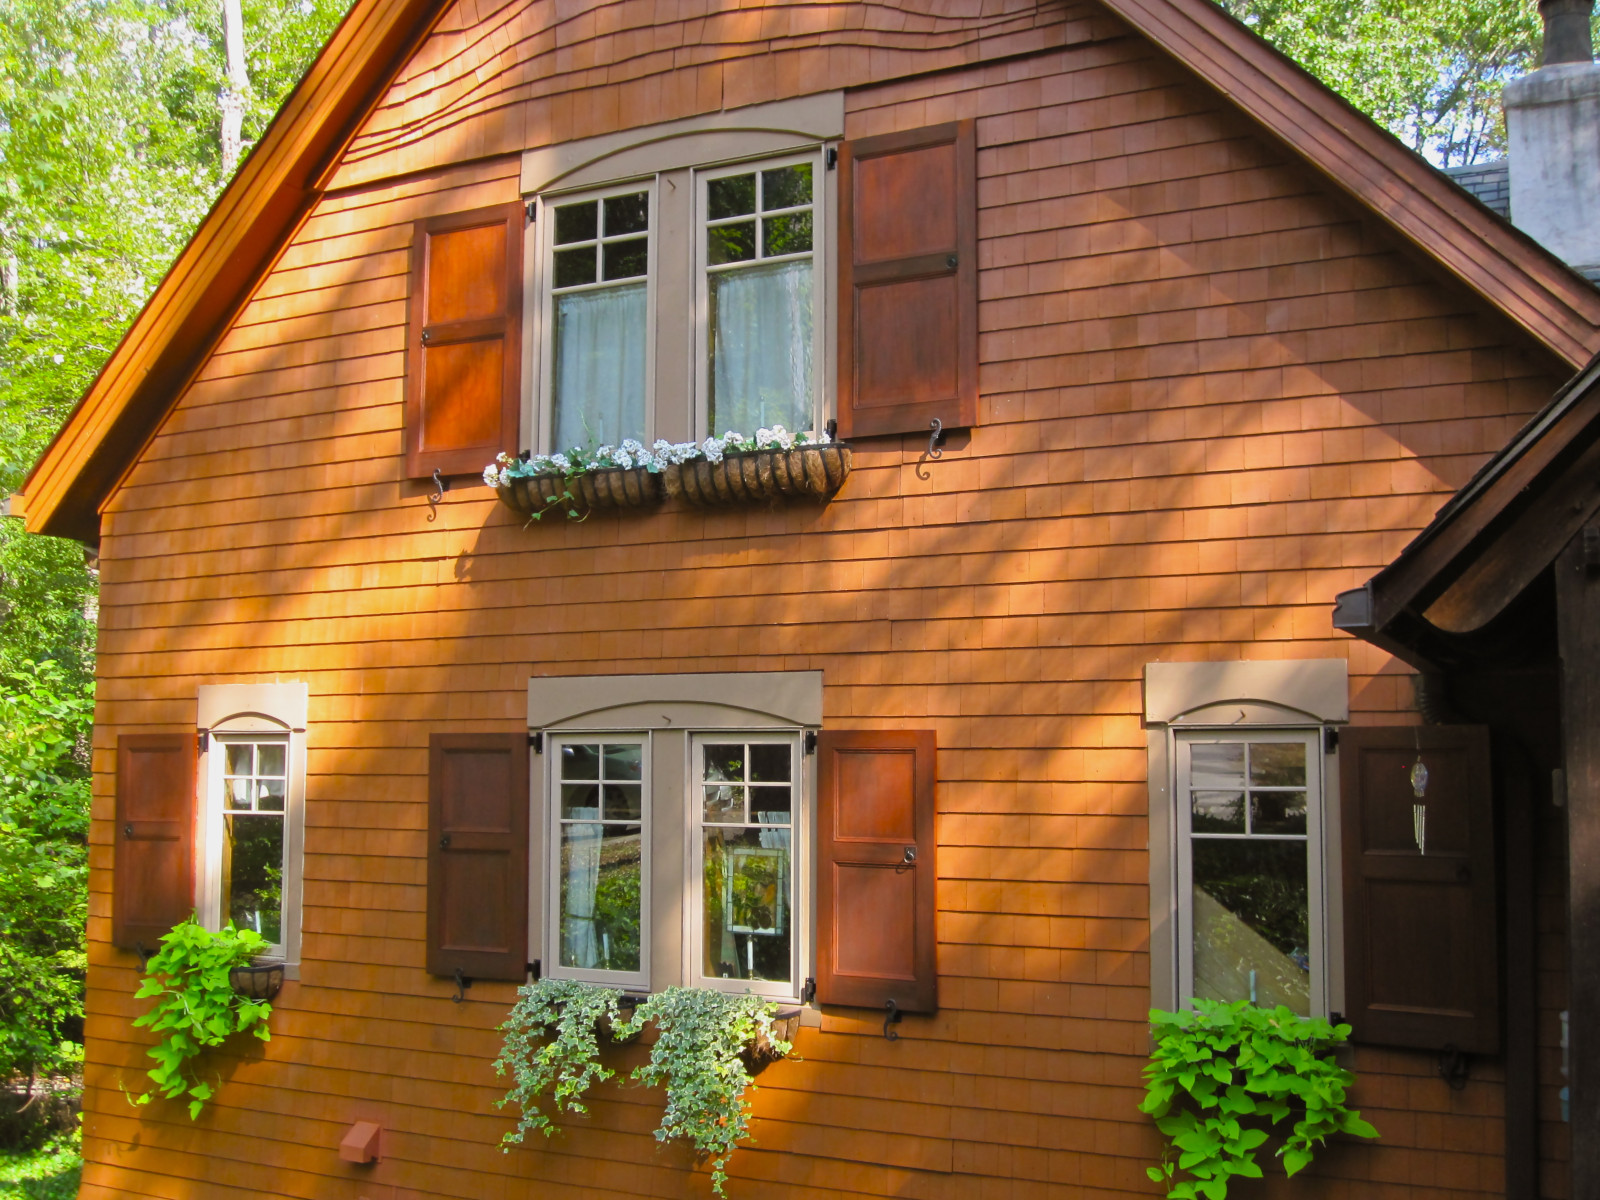
For years we have offered a variety of standard S-curve shape shutter dogs, a.k.a. shutter tiebacks, in several materials including an imported cast iron variety. This very popular cast iron version has a scalloped edge. Now, we have a cast iron scroll with a smooth edge. Simple but very elegant. Just $18.00 a pair! Item: …
Category
Showing: 7 - 10 of 10 RESULTS
Exterior Shutter Hardware
Kestrel Exterior Shutter Hardware
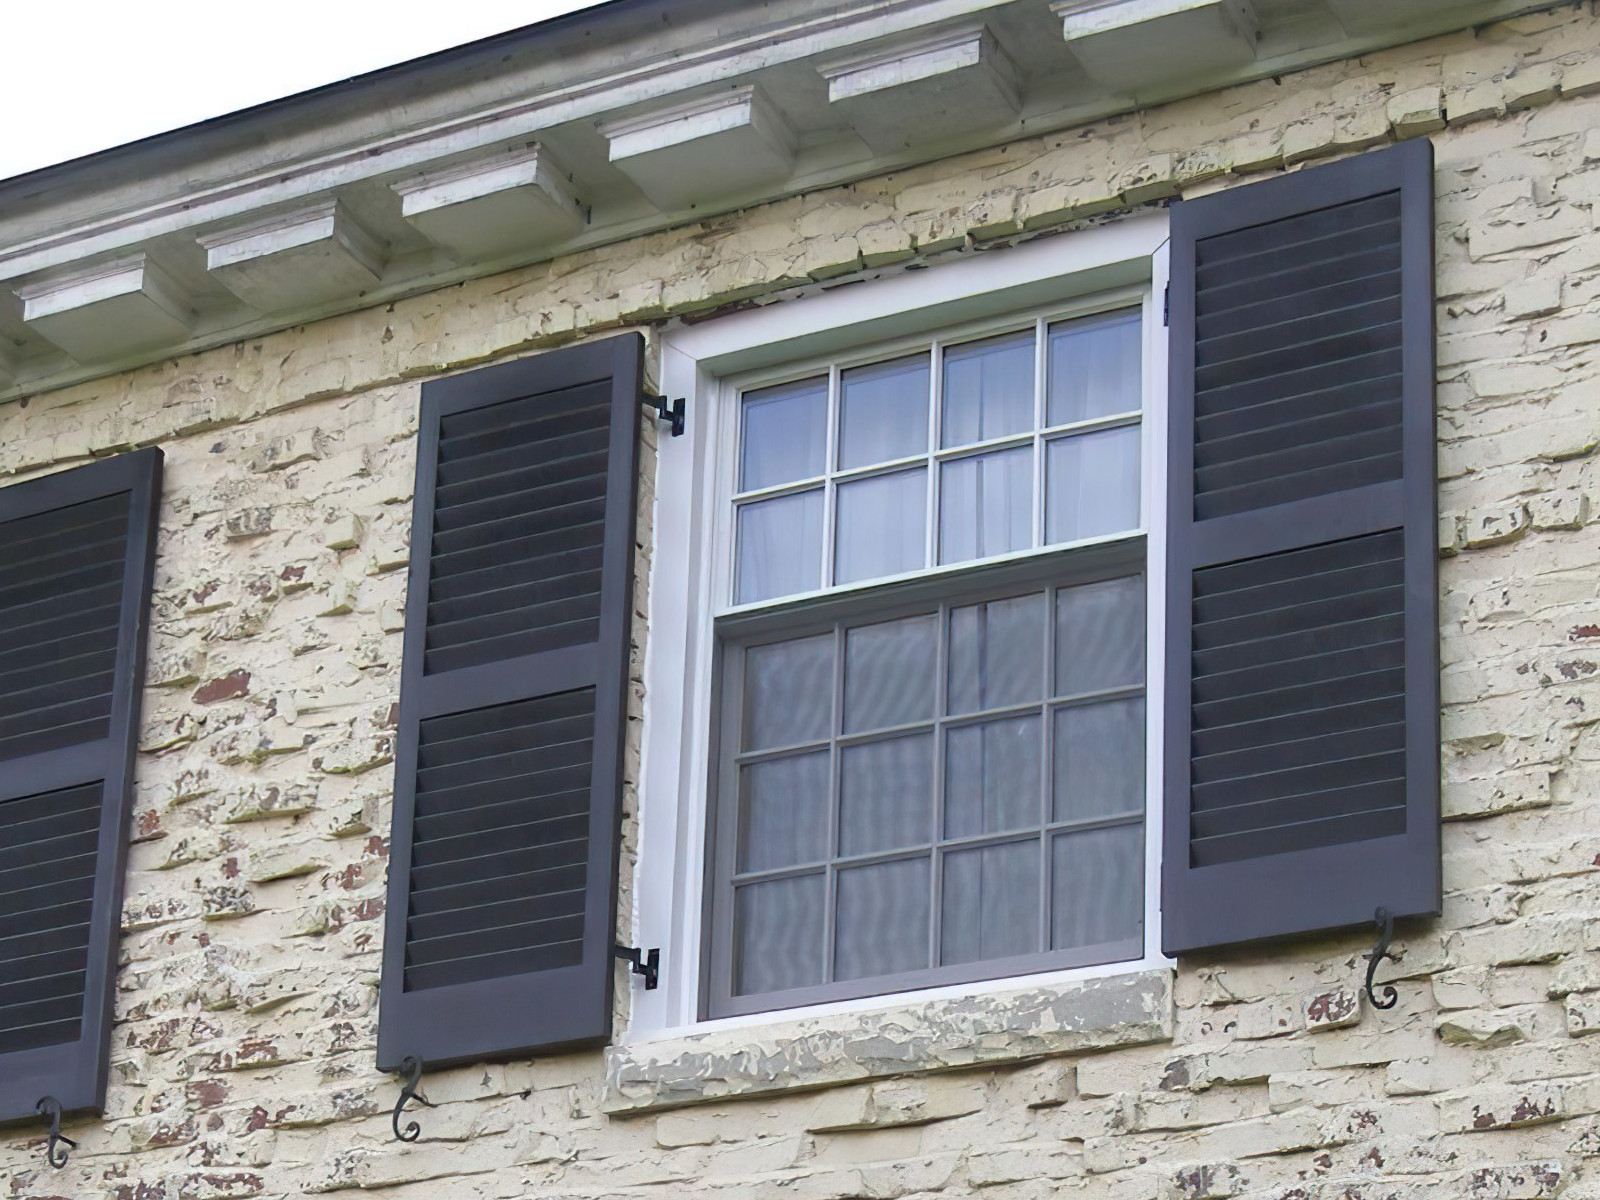
Choosing the Correct Exterior Shutter Hardware – Hinges Part 1
If you want your exterior shutters to be able to open and close properly over your windows, you need to make sure that you choose the correct exterior shutter hardware. This can be a bit confusing as every window and window frame is different. Even if you have the same style of trim on all …
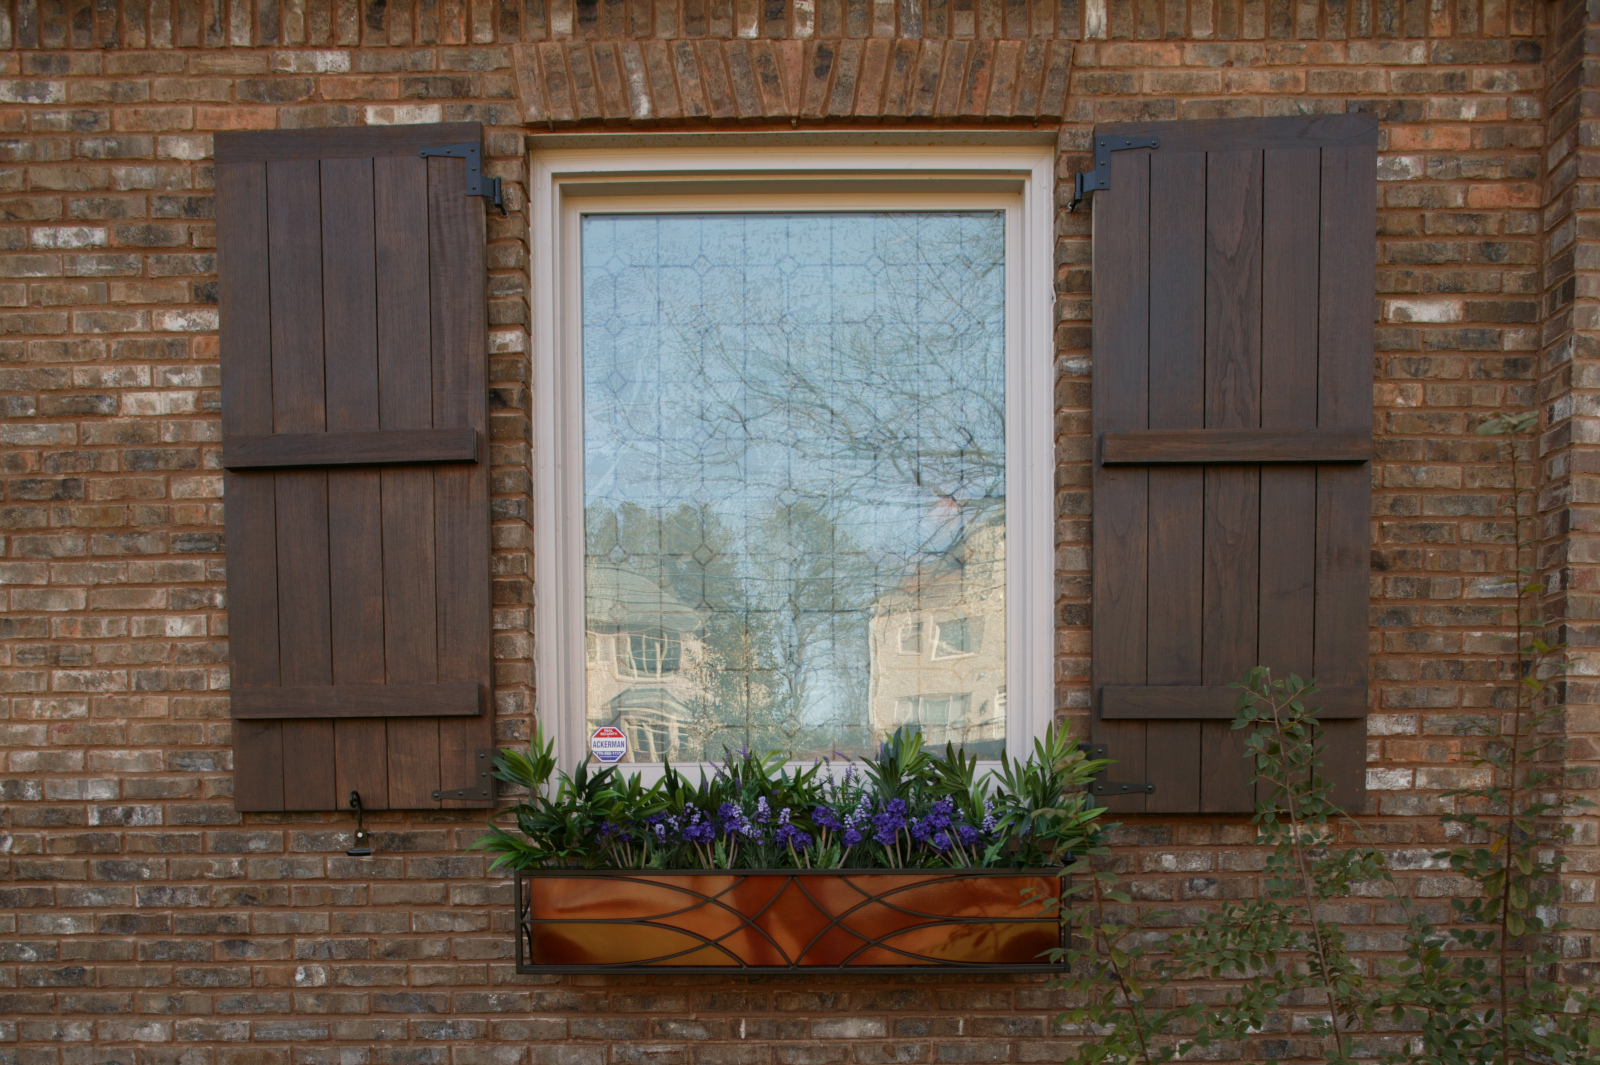
What’s wrong with how these shutters were installed?
In my last post, “Finding a Wood Shutter”, I included this picture as shown. While it is a beautiful picture of Kestrel European Board and Batten Shutters with a breadboard top, I noted that there is something wrong with the hardware installation. It will be easier to see if you imagine the shutters closing over …
What Exterior Shutter Hardware do I really need?
This is a very common question and one where the answer really depends on how you plan to use your shutters. Will you be closing them daily to help insulate your home or only for the next hurricane? Maybe your shutters will be strictly decorative. As a general rule of thumb there are two reasons …